How to Create a Beautiful Decoupage Bar Top
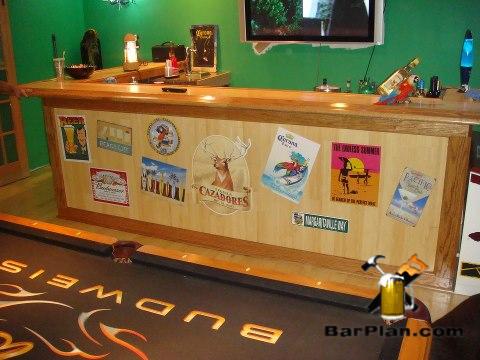
Decoupage (pronounced: dey-koo-pahzh) in relation to home bars describes an artistic technique of arranging pieces of memorabilia on your bar top and then sealing them in a layer of two-part epoxy. This creative technique will give your home bar project that special touch and make a great conversation piece while preserving your memories forever. Decoupage also allows you to creatively cover up any seams or imperfections in your bar top sheeting.
Decoupage items might include:
- The ubiquitous travel stamps or luggage tags
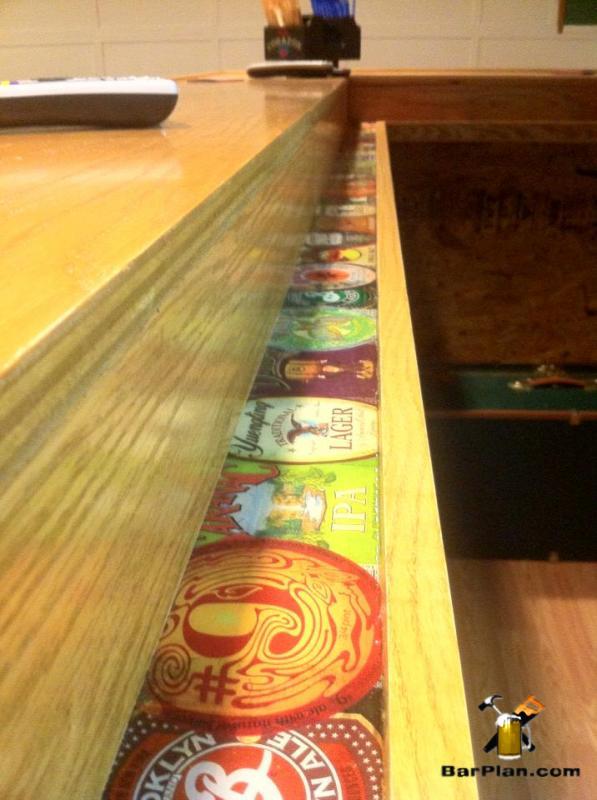
- Beer bottle caps or labels
- Unique liquor bottle labels
- Wine corks
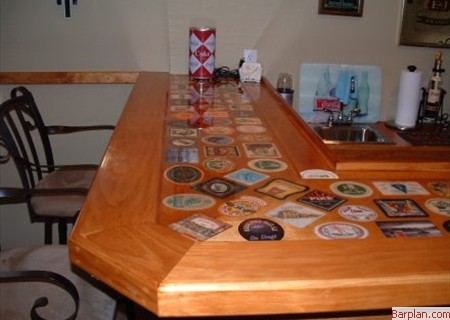
- Collectible drink coasters
- Concert or sporting event tickets
- Cocktail napkins
- Tile patterns
- Autographed baseball cards
- Hockey pucks or sticks
- Baseball halves or mini bats
- Speeding tickets
- Marriage or divorce papers
- Awards or citations
- Photographs
- Collectible Stamps
- Coins or Paper Money
- Old Records or CD's
- Album covers
- Old matchbooks
- Casino Tokens
- Anything else you want to preserve for eternity

The Decoupage Process:
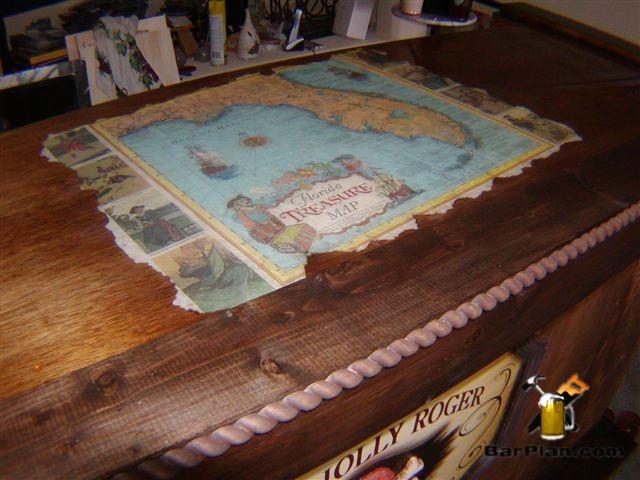
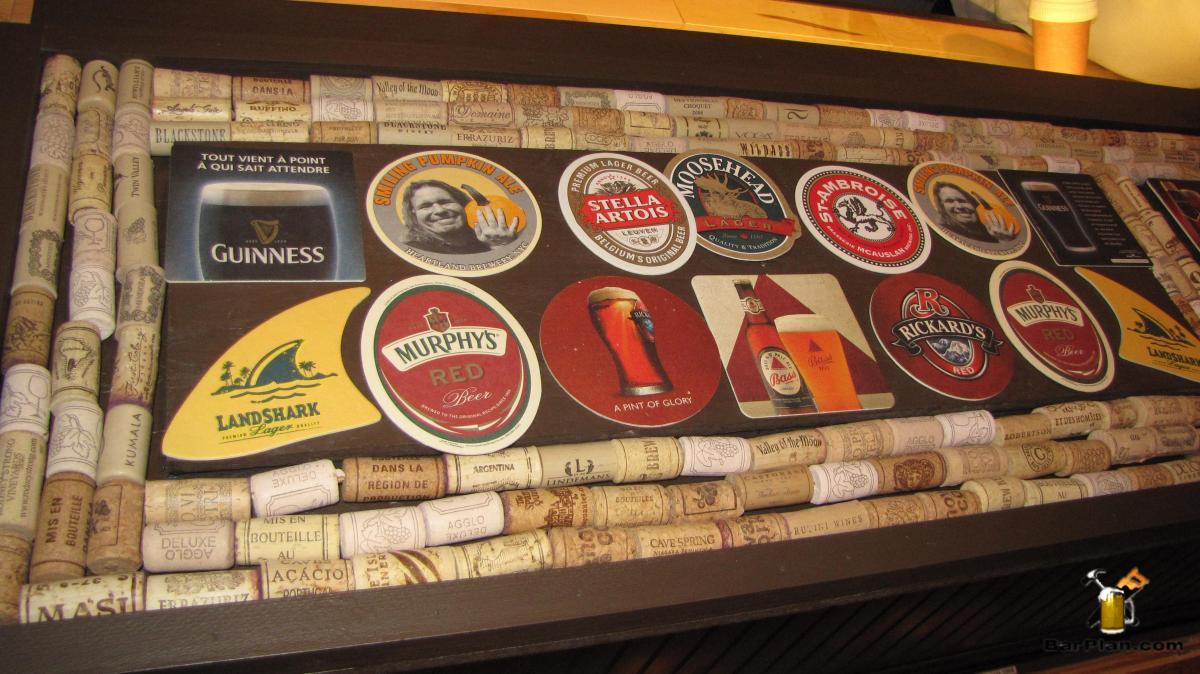
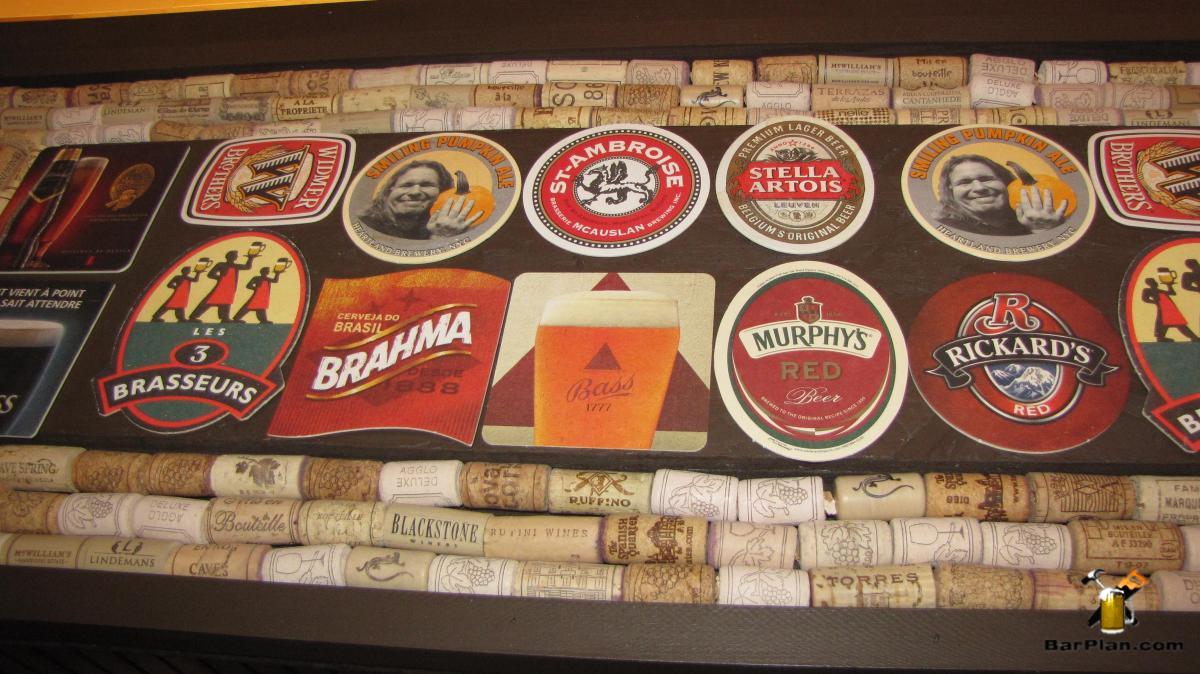
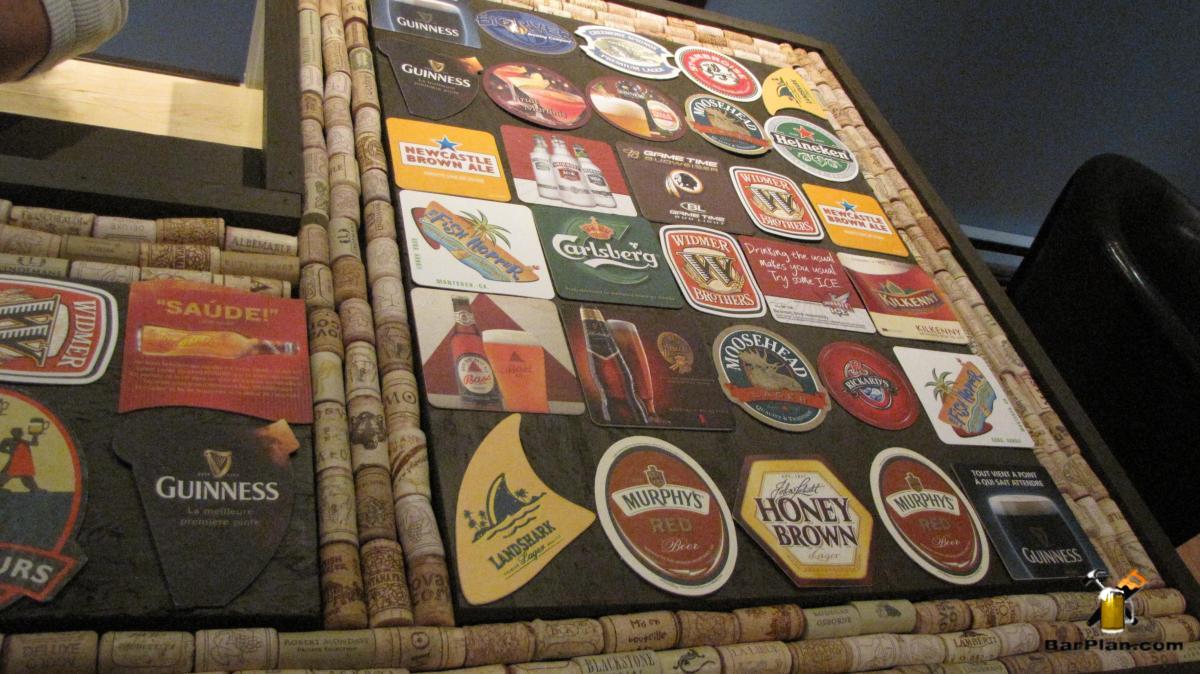
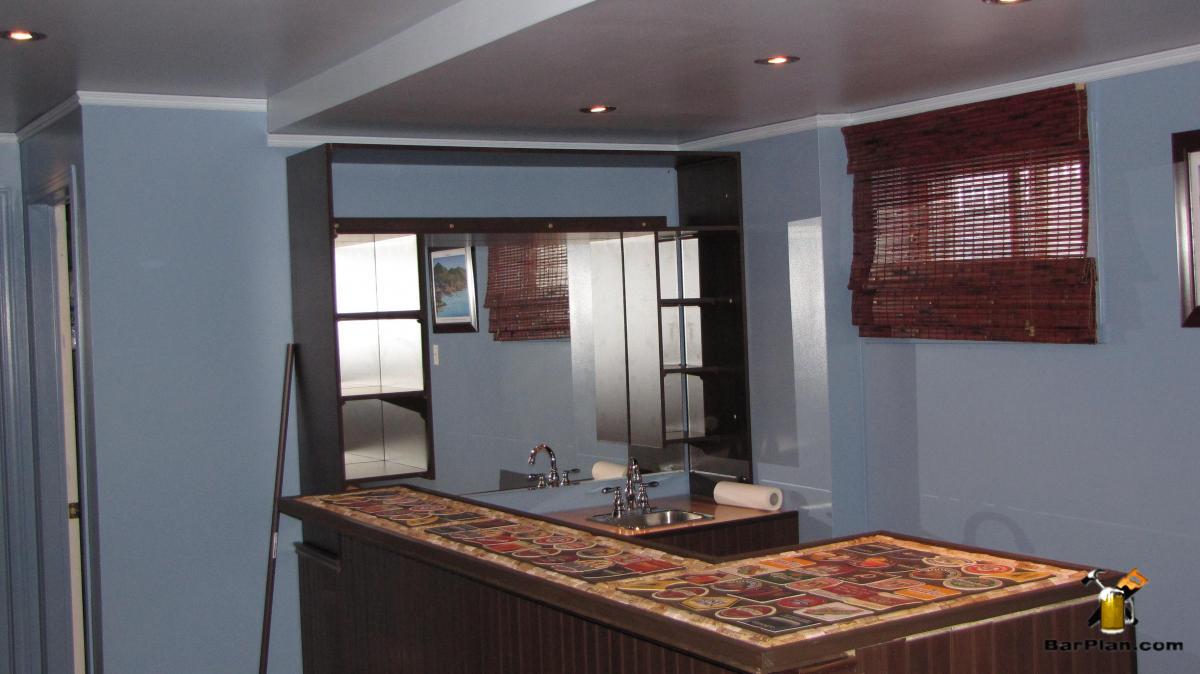
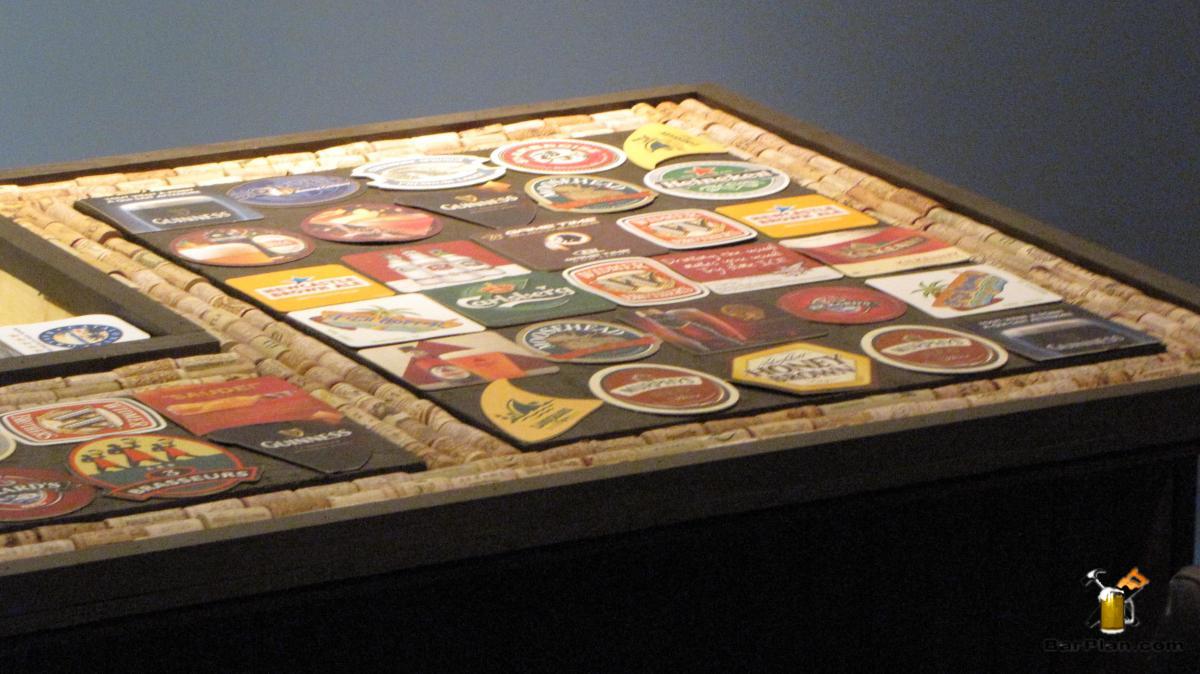
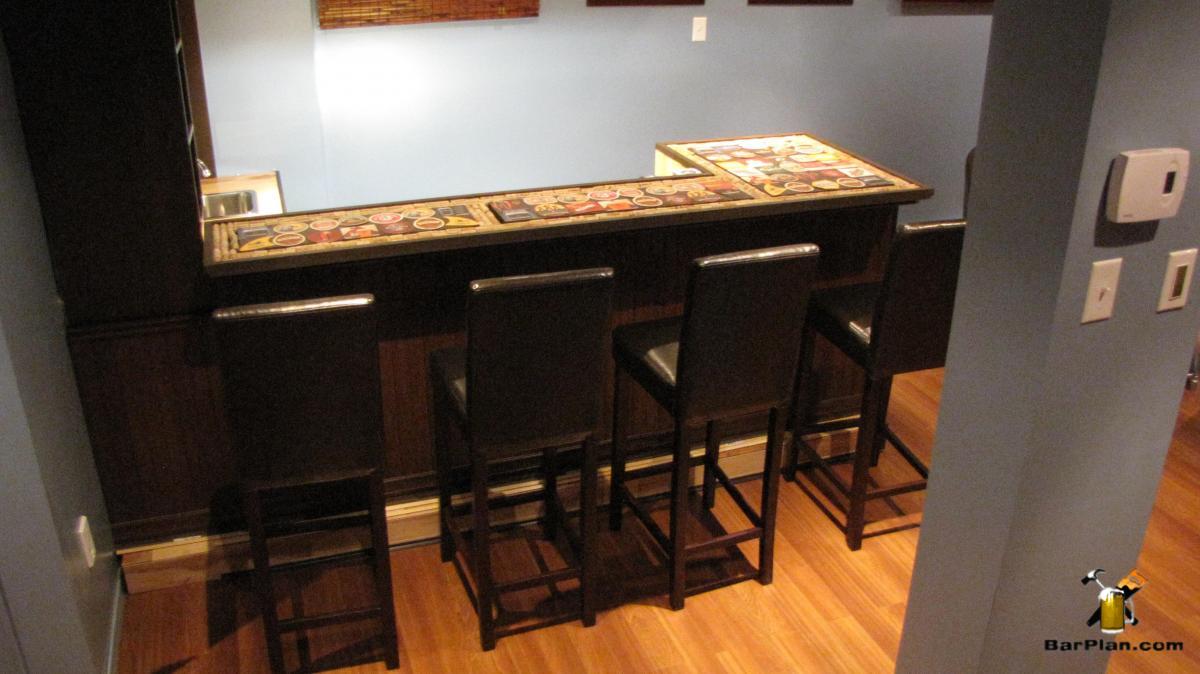
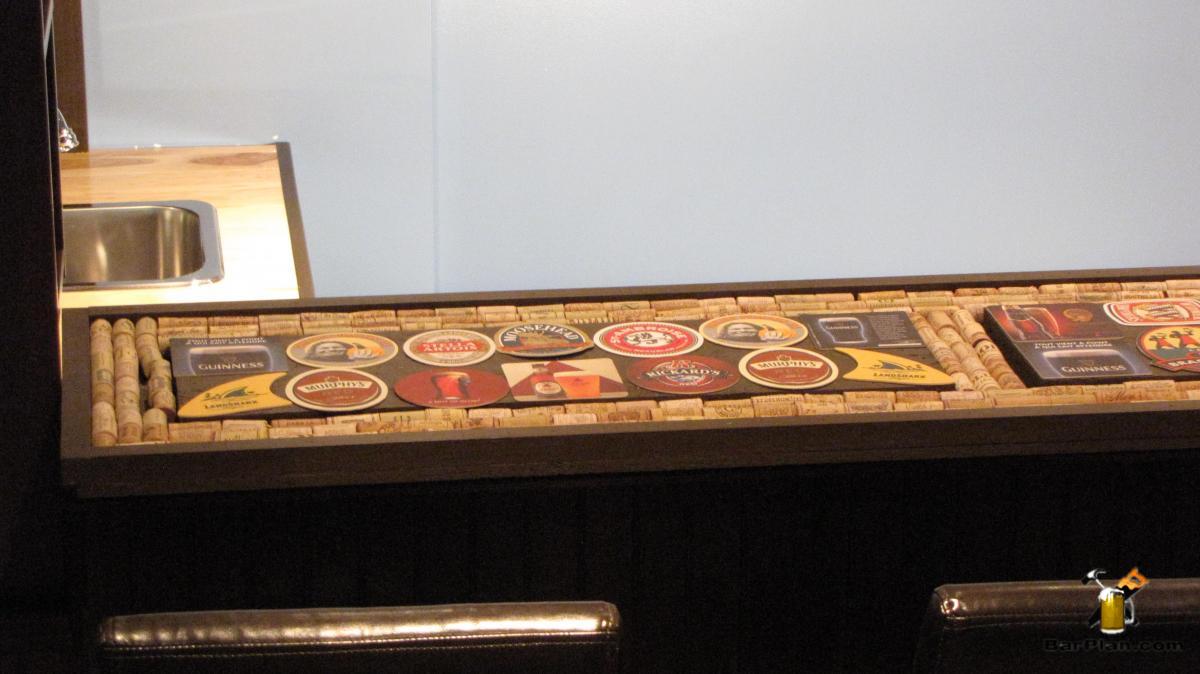
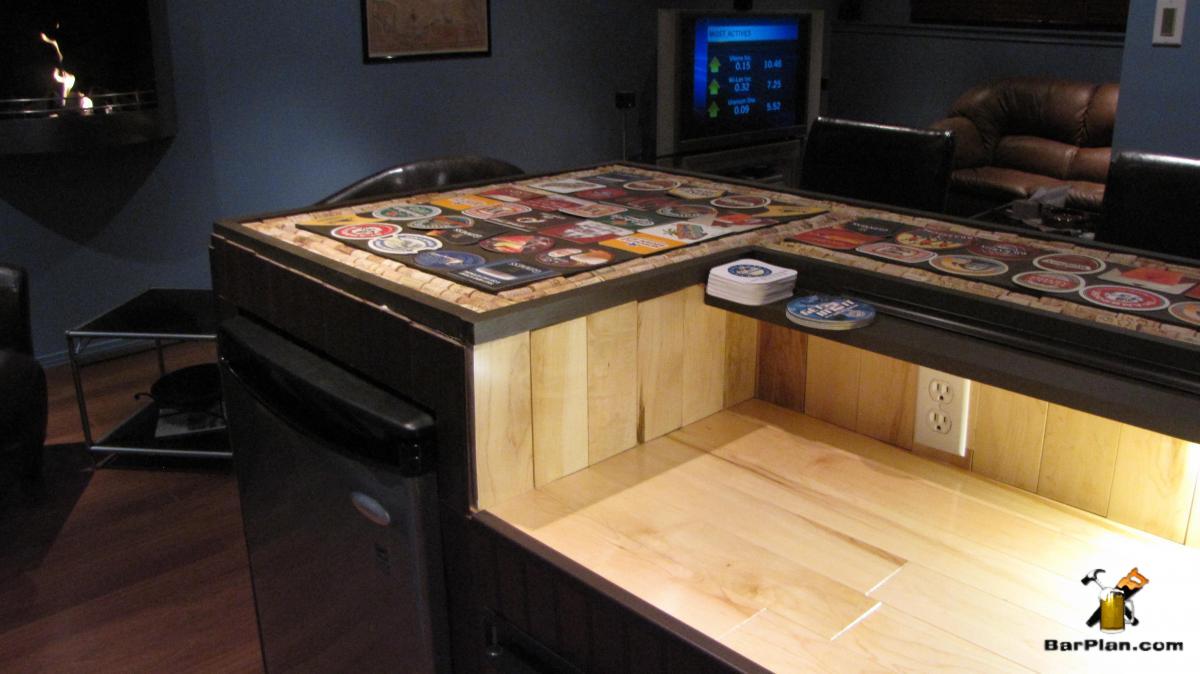
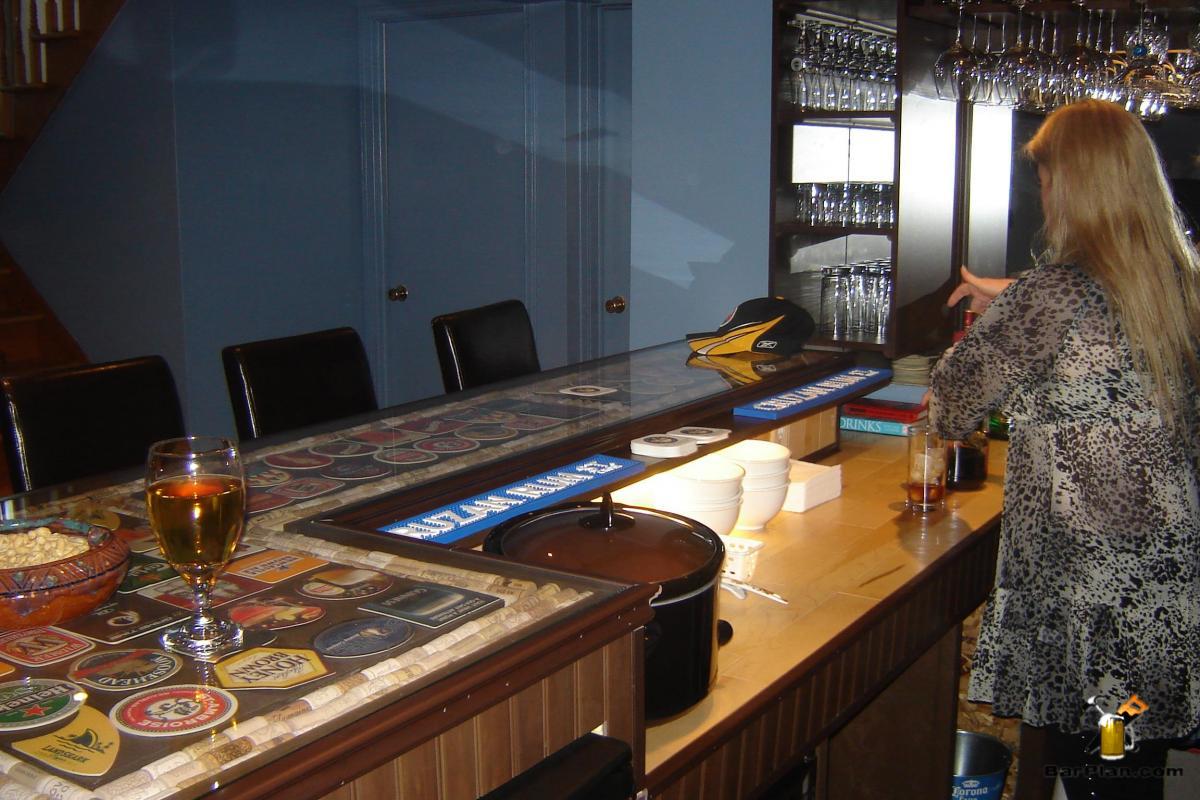
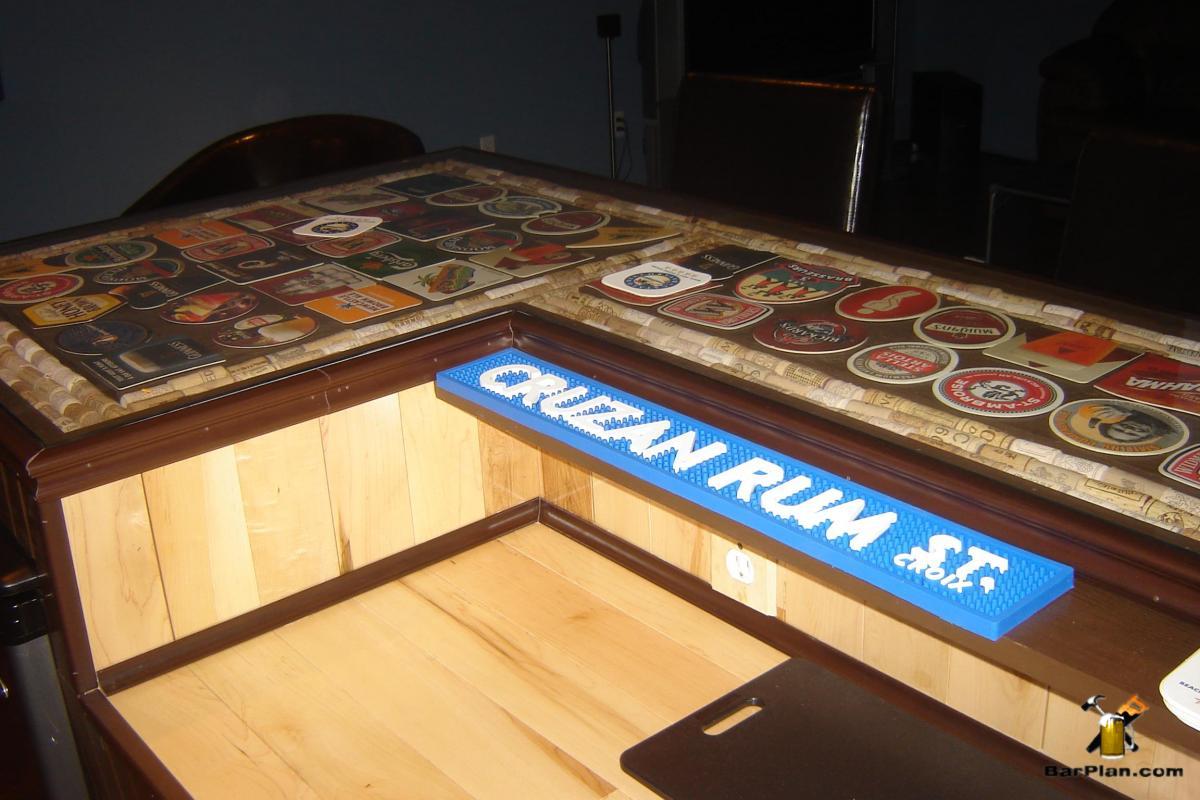
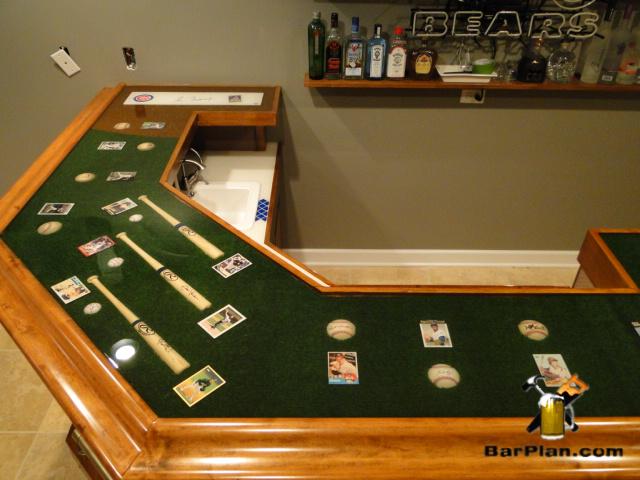
Decoupage is a popular way to finish off your bar top and it's very easy to do. Just arrange your items in a creative and visually appealing way, then be sure the items won't move during the epoxy pouring process. A glue stick or hot glue gun can help. Flimsy items like cocktail napkins need to sit flat, while stiffer items like drink coasters and wine corks can be positioned on riser boards or placed in a trough (see photos for an example of this).
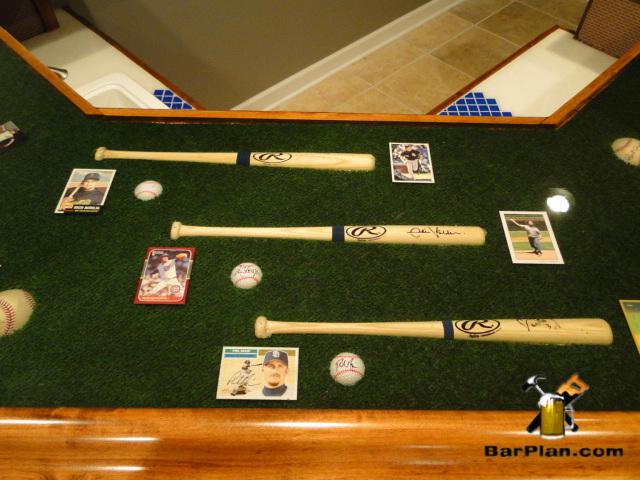
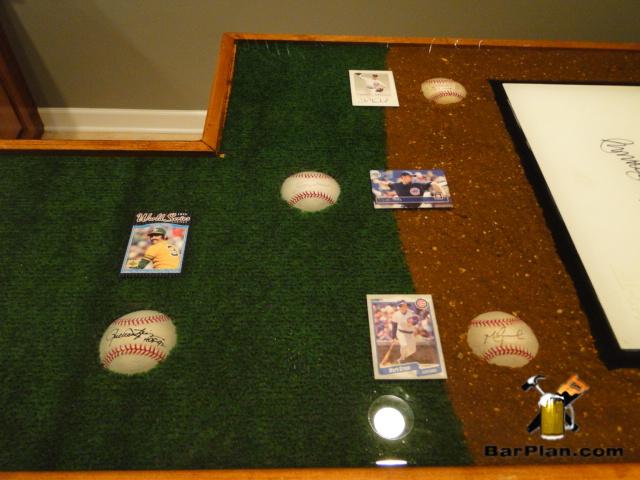
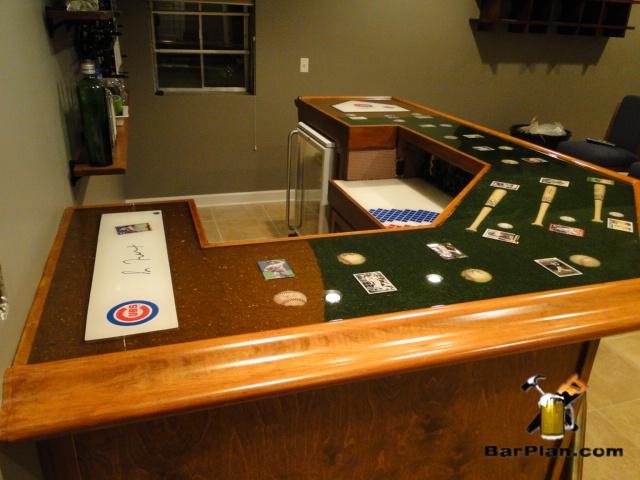
Thicker items like baseballs, mini bats, or hockey pucks need to be reduced in thickness either by cutting the item itself into layers (not desirable) or more preferably by countersinking the bar top; making exact fit through holes to snugly fit the item. This can be tricky, but the photos below show that it can indeed be accomplished with amazing results. Again, the hot glue gun or silicone caulk from below will prevent leaks around items when you pour.
Pour It On!
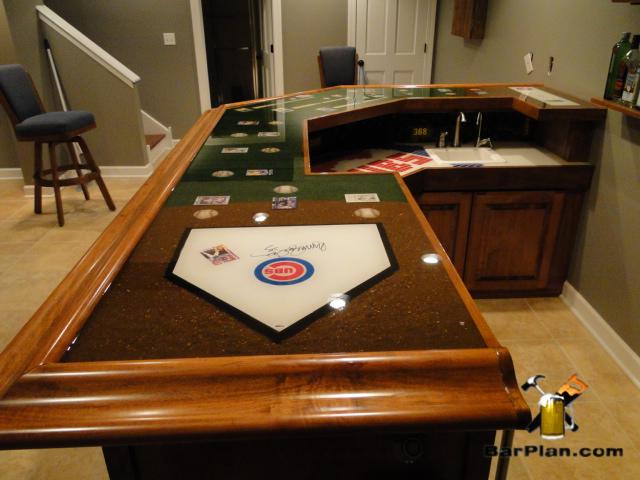
Once everything is in place you are ready to pour on the two-part epoxy. I recommend using Envirotex Lite. Envirotex comes as a two-part epoxy resin that needs to be mixed thoroughly before pouring it on. No need to rush as it takes over 24 hours to set and up to several weeks for a full cure. In the first few days, if you set a beer glass on the bar top, it will leave an indentation. Don't worry though, the indentation will gradually disappear.
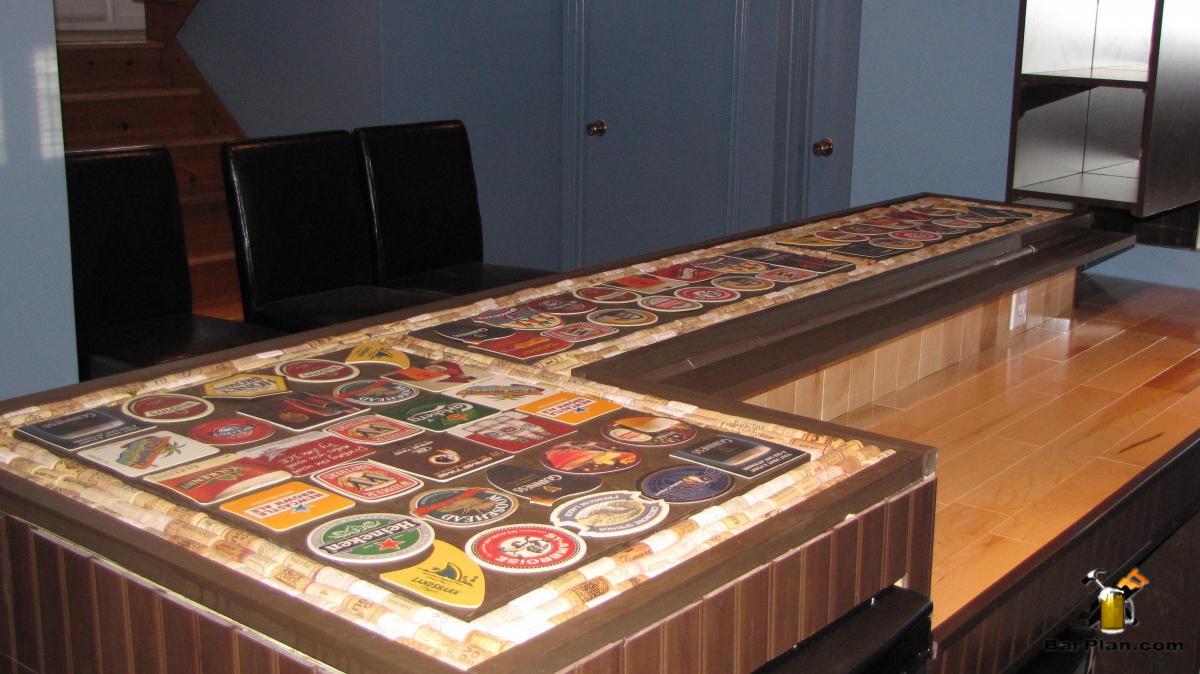
Envirotex is a self-leveling epoxy resin which is why you get a glass-like surface once it's cured. The biggest trick is making sure you have a fully sealed perimeter before you start pouring or all the expensive epoxy will wind up on your floor. As a mixed liquid, it has a very low viscosity and will stay that way for up to 6 or more hours. Eventually, it will start to harden, but very, very slowly, especially with a thick pour. Patience is required.
Flame Out the Bubbles:
Envirotex is not flammable at all, in fact, the best way to drive out tiny air bubbles is to use a propane torch that forces air to the surface. Most bubbles make their way out on their own, but the torch method works great to speed the process. Just be sure you didn't apply fresh polyurethane instead of Envirotex or your bar will go up in flames.
Below are some sources for Envirotex at very good prices compare to hardware stores and home centers.
Below that you will find a few photos from projects site members have created. Have Fun!
The 32 oz kit is good enough for a thin layer or test project.
[amazon_link asins='B000BZYYQ0,B001FD1C3A,B07BM9LHRB,B079CR71SL,B007PZW60U' template='ProductCarousel' store='easyhomebarplans-20' marketplace='US' link_id='7e8e7a23-5804-4f04-9823-aba529c477ce']
The 128 oz kit is good for a thick pour to cover larger decoupage items and bar tops.
[amazon_link asins='B000LNW022,B000VKZFLI,B079CR71SL,B007PZW60U' template='ProductCarousel' store='easyhomebarplans-20' marketplace='US' link_id='212ea07e-3262-4ca7-8049-27adad0056fc']
Sample Decoupage Bar Tops built by our site members.
Bar3_InPixio_InPixio
bar-arcade-design
The Home Bar Arcade – new life for an old pinball machine
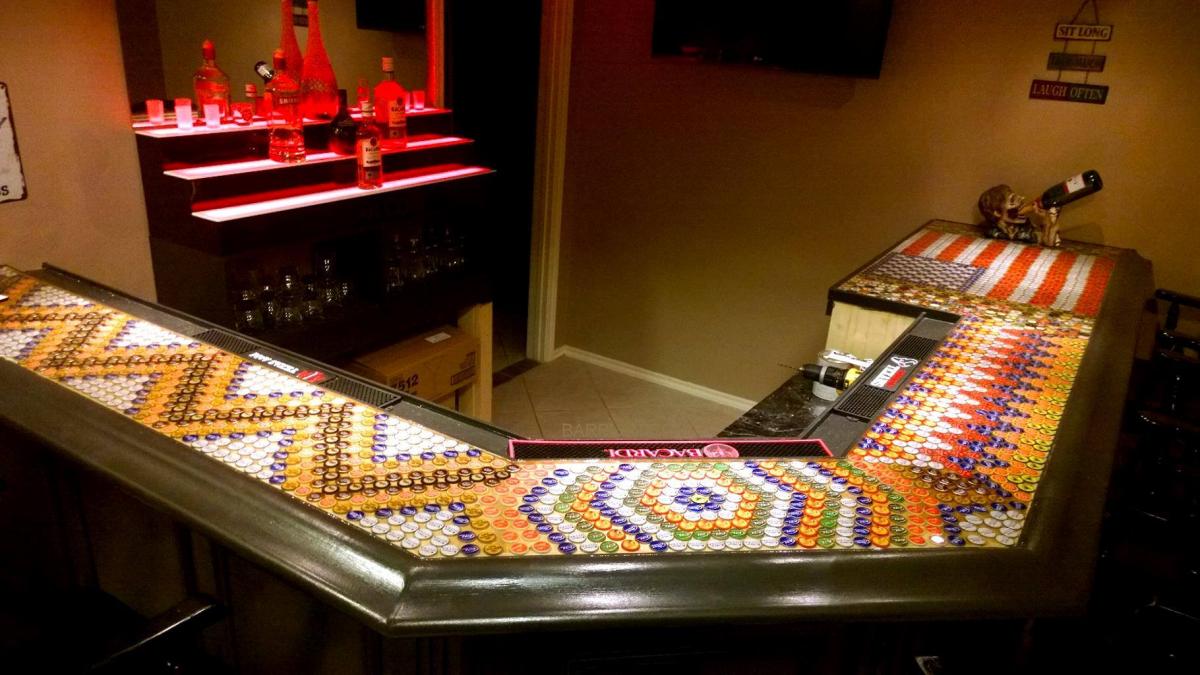
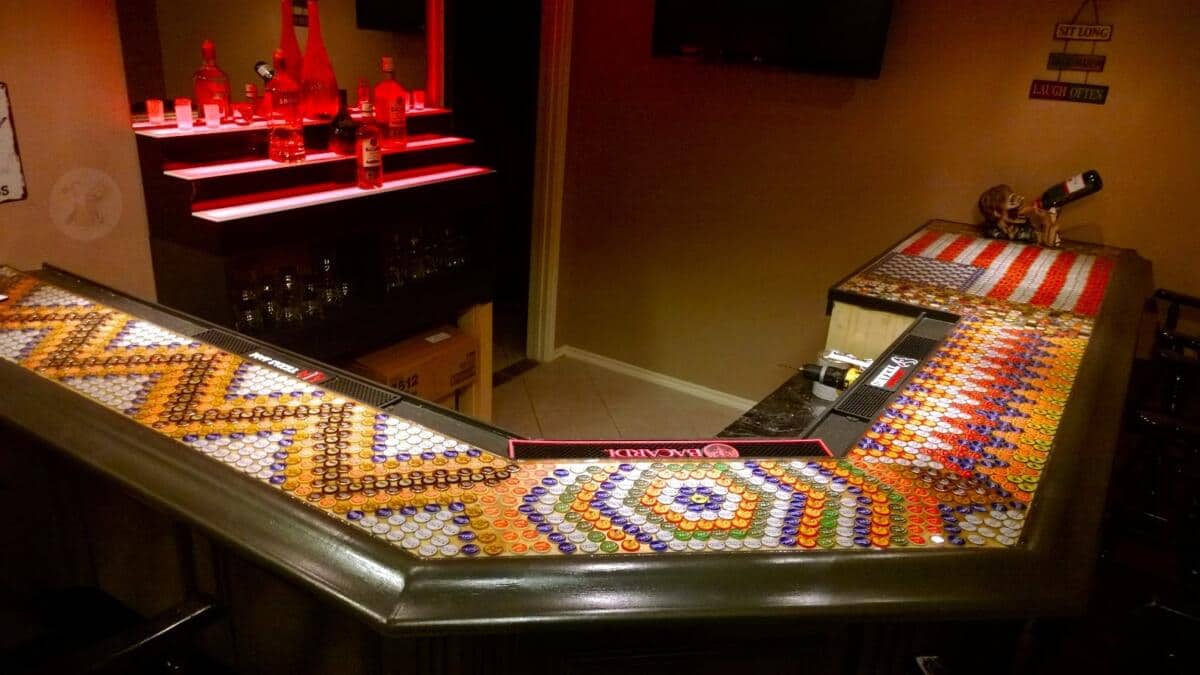
bottle cap bar top
Over 1000 bottle cap bar top
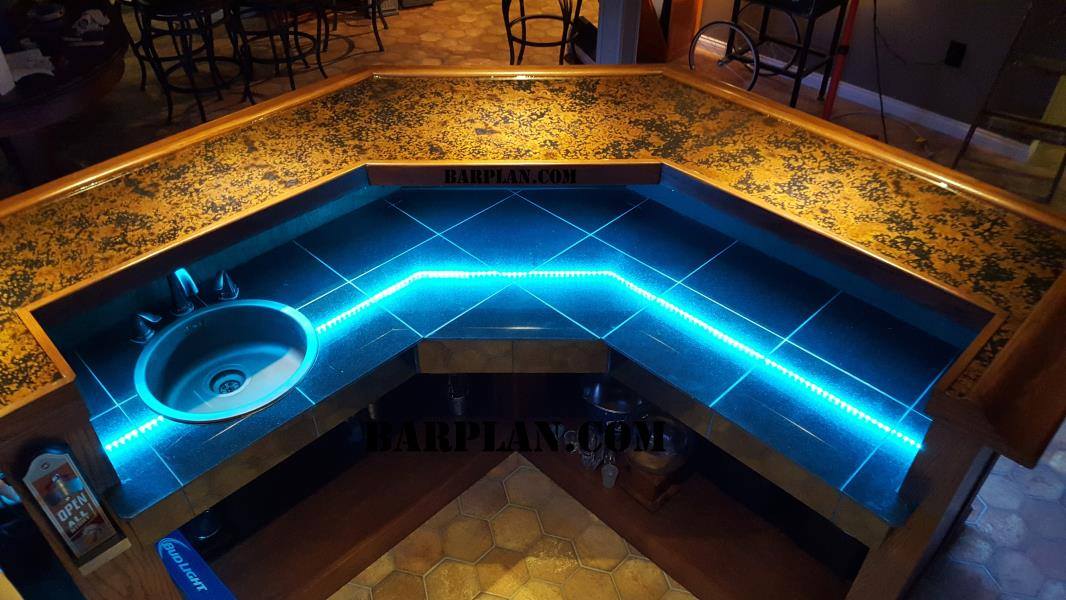
copper-top-mikes-super-bar-led-view
Copper Top Variation
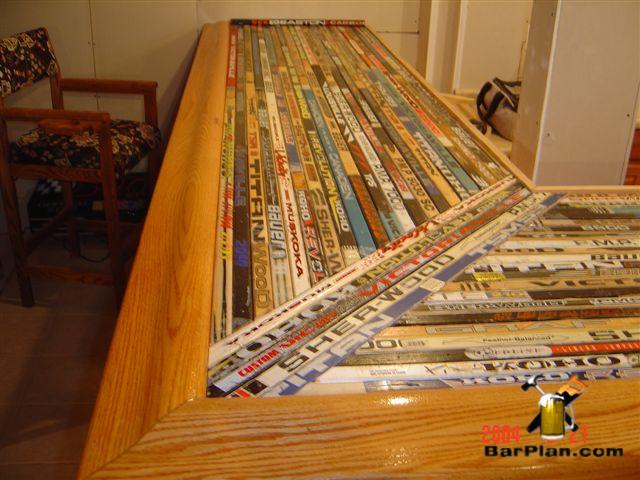
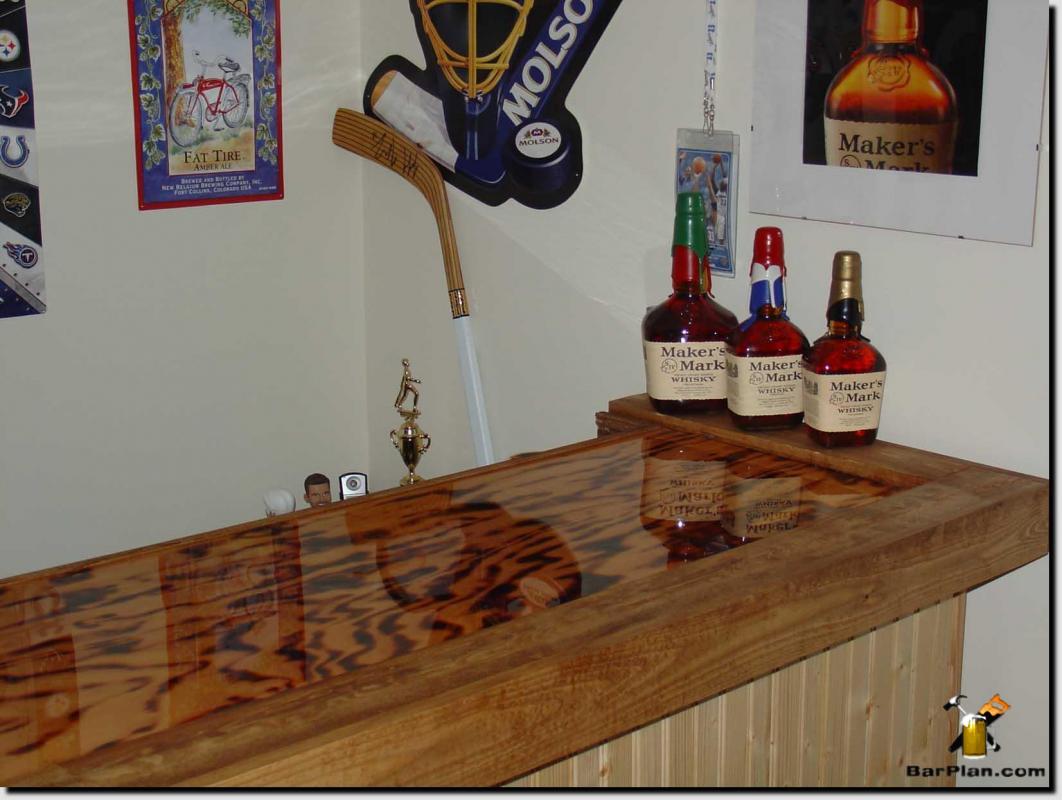
hockeybar -barplancom
Hockey Stick Bar Top
Housebar 015
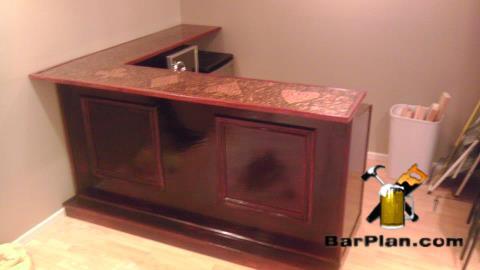
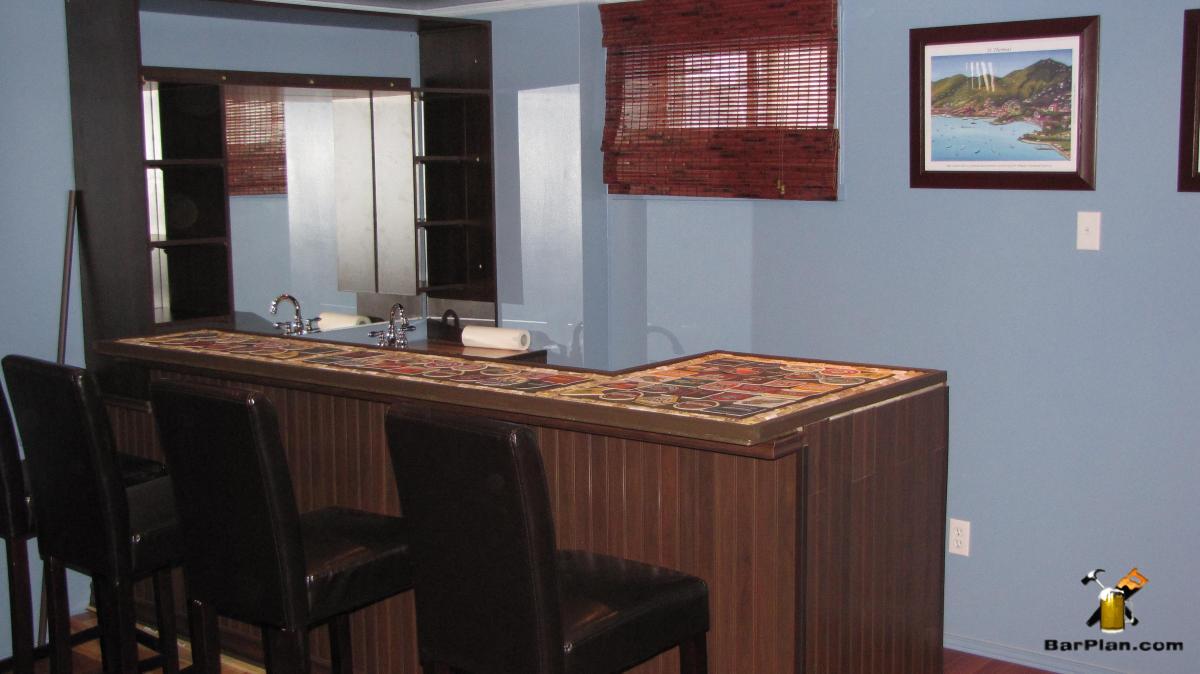
decoupage-bar-top-45
Decoupage Bar Top
michael_rathburn

100_7470~0
michaelkeuhnl
don lay l-shaped home bar
Don L’s EHBP-04 results
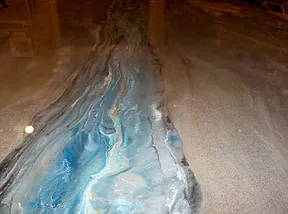
faux-stone-countertops
normal_rm1
misc99
img_3485
img_3484
img_3486
img_3490
img_3488
img_3507
img_3508
img_3506
img_3501
img_3494
img_3511
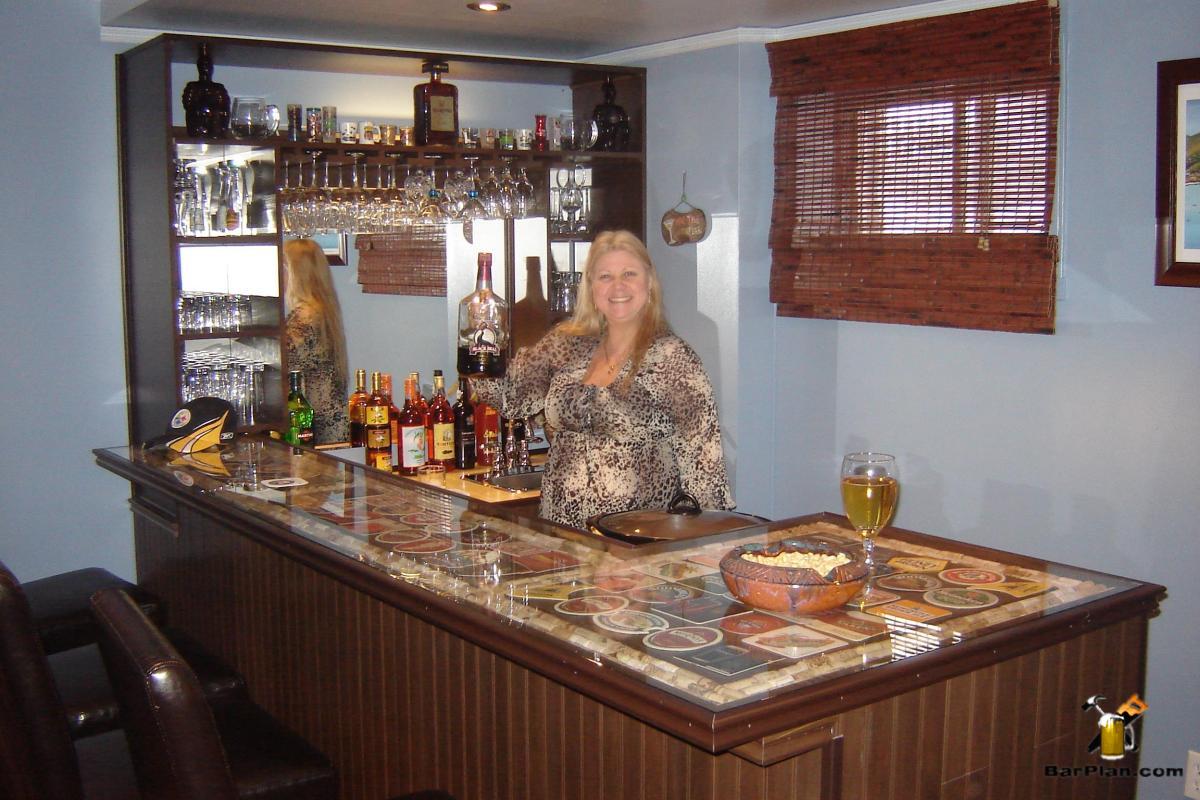
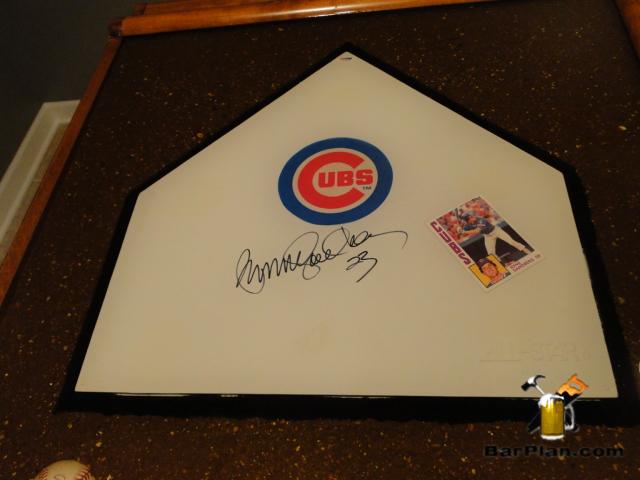
A Bar Top Filled with Memories
img_3512
img_3517
1262647_img_small
dsc09461
dsc09460
dsc09459
dsc09458
dsc09457
dsc09456
dsc09452
dsc09470
dsc09450
dsc09472
dsc09465
dsc09462
dsc09450-500×450
p_0053
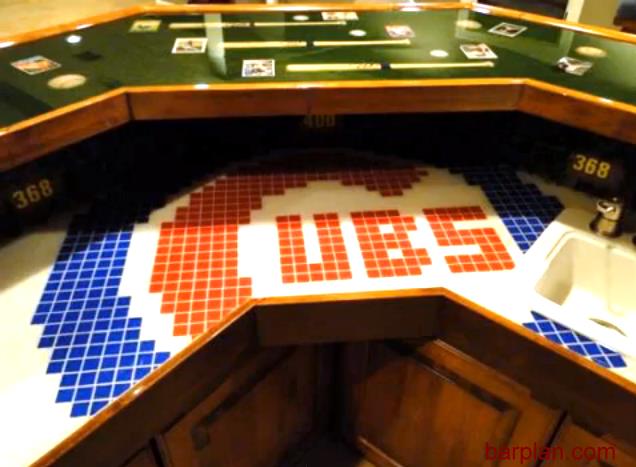
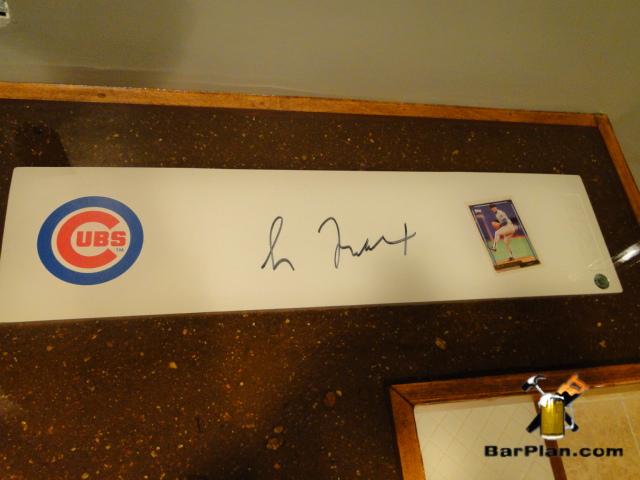
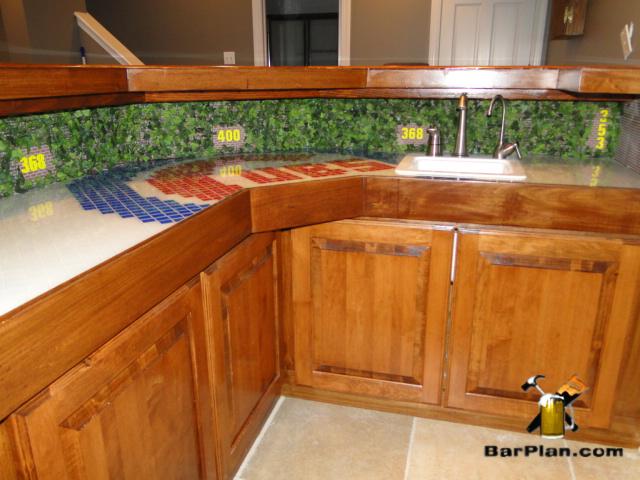
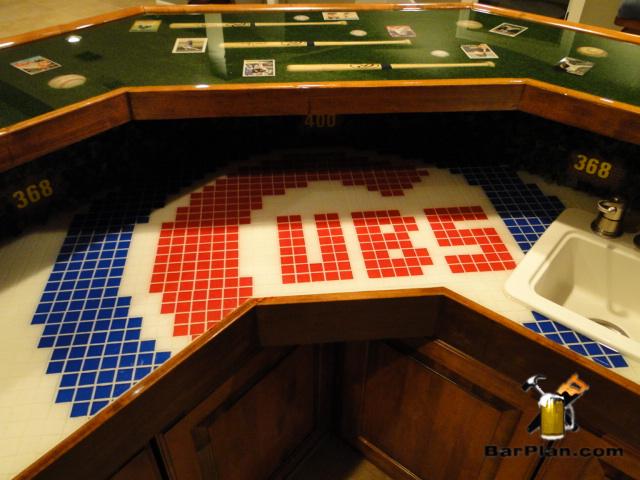
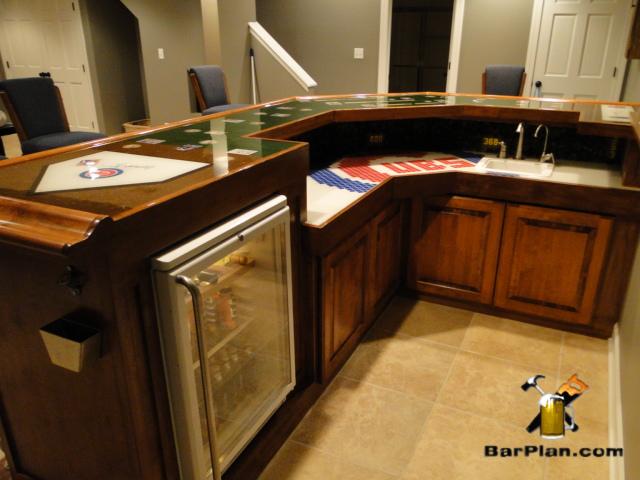
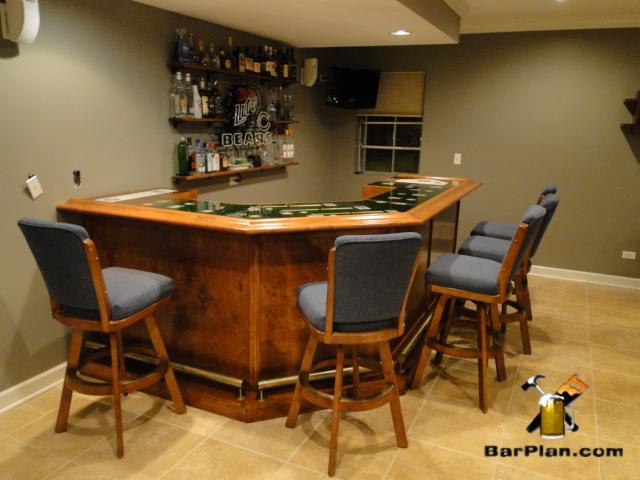
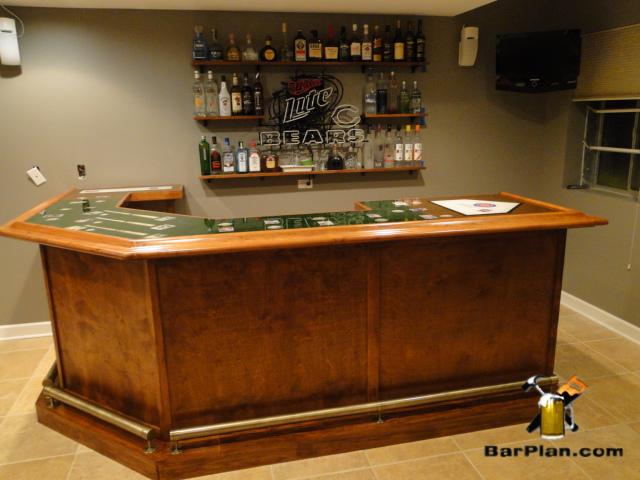
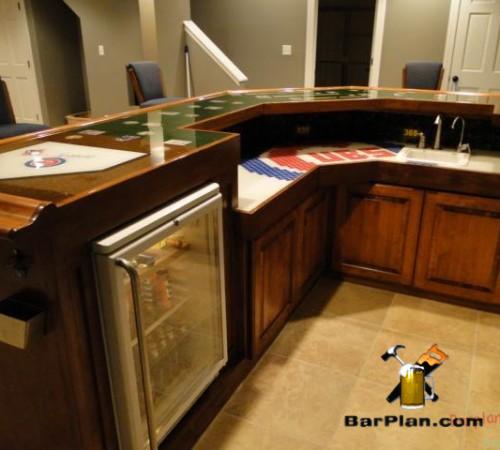
chicago-cubs-bar
Chicago Cubs Wet Bar
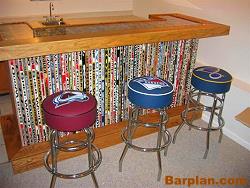
hockey_bar_made_with_sticks2
Check out this hockey stick sports bar!
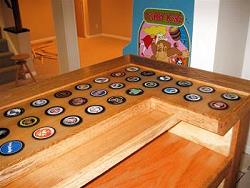
hockey_puck_bar_2_250
Hockey Puck Bar Top
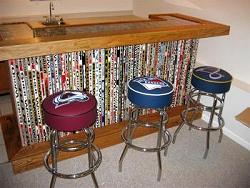
Hockey Stick Bar
Cool Hockey Stick Bar
normal_SG1~0
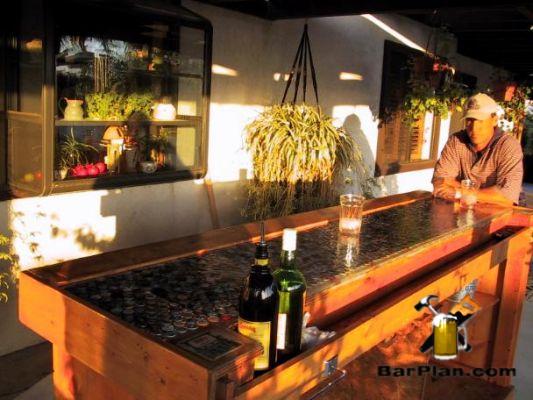
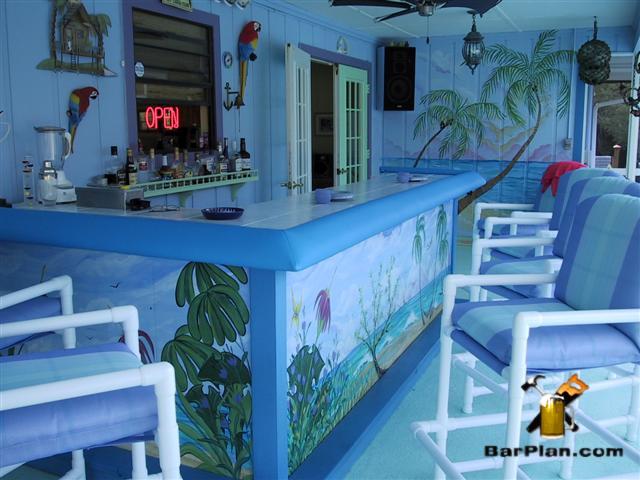
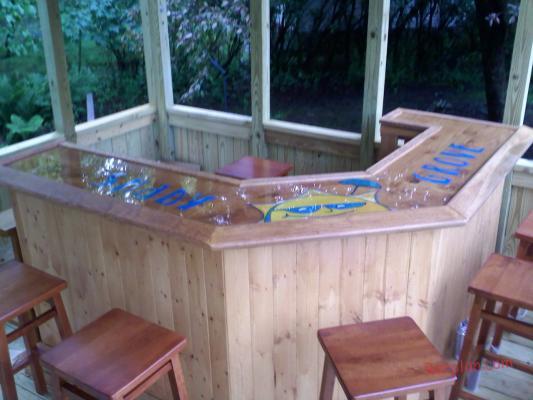
Outdoor Bar